Please note: use student emails and encourage students to sign into Zoom by using their UVic ID. If they sign in using their personal ID, they will not be put into a breakout group.
Primarily, you can use FAST for finding students’ NetlinkID and emails. If you would rather use Brightspace, follow the beginning steps below.
Beginning Steps: Exporting From Grades
In Brightspace, go to Grades. Then click Export.

Since you only need NetlinkIDs, select username to restrict what you export. Then deselect every assignment and graded item (where possible; you may have to leave one so it can export) and click Export to Excel.

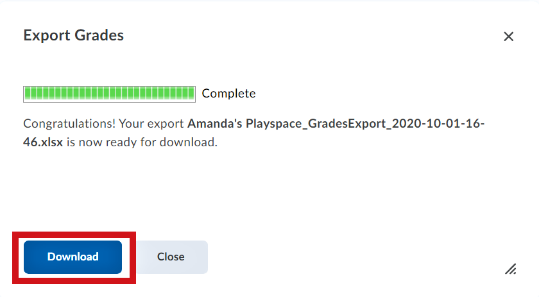
It may take a few moments to export, but once it is complete, select Download to save the excel sheet to your documents.

Windows 10 Excel
Open the Excel file of the class’ grades. In the first column beside the students’ NetlinkID, type ‘@uvic.ca. Then select the box (“cell”) and copy it.

Highlight all cells beside the classlist. Right click and select the first paste option (a clipboard icon).

It will then be copied into every cell you have selected.

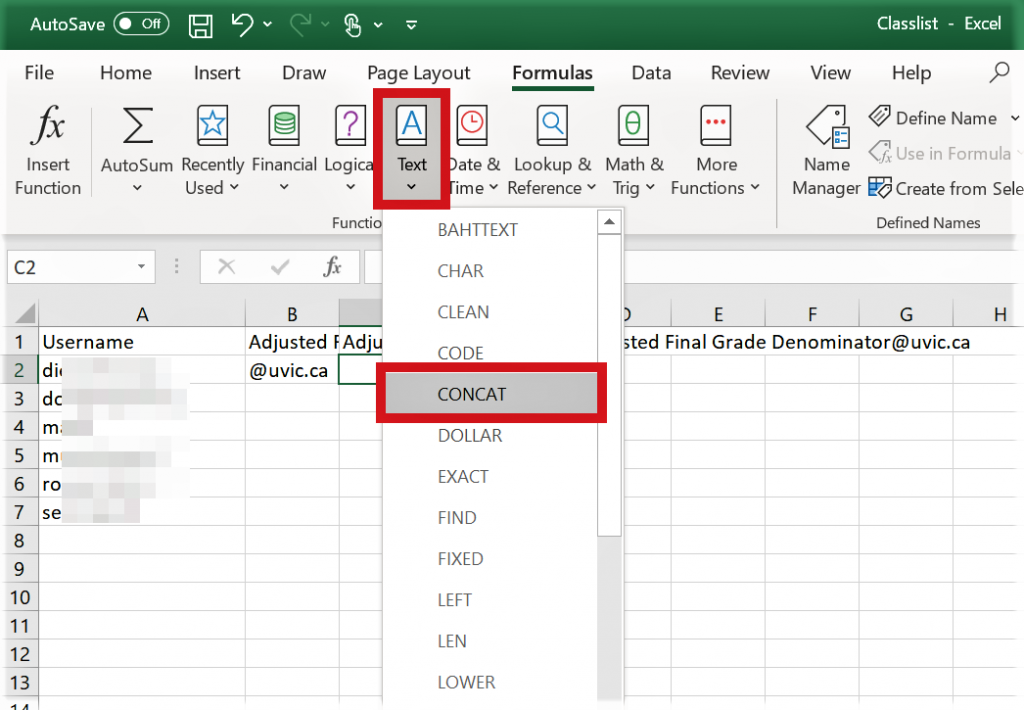
Click an empty cell at the top of the sheet beside the first student. Under Formulas, select Text and then CONCAT. This will bring up a formula popup.
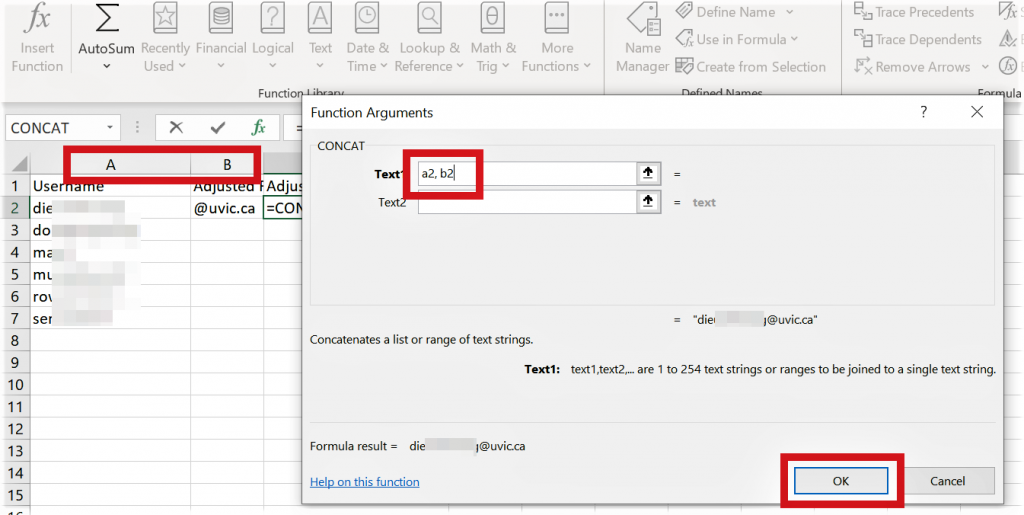
The columns you want to combine are A and B, so type in the first text line a2, b2 (a1 and b1 are headers, and thus excluded). Once done, click ok.
In the column C (the third column), you will see the combined result of column A and B (which will be the students’ UVic email). Highlight the entire column by clicking on the letter, then double click in the bottom right-hand corner of the cell you want to copy. Your cursor should turn into a small white cross when you hover over the corner.
Note: it might take a few tries, as Excel can be picky. Be patient and keep trying!
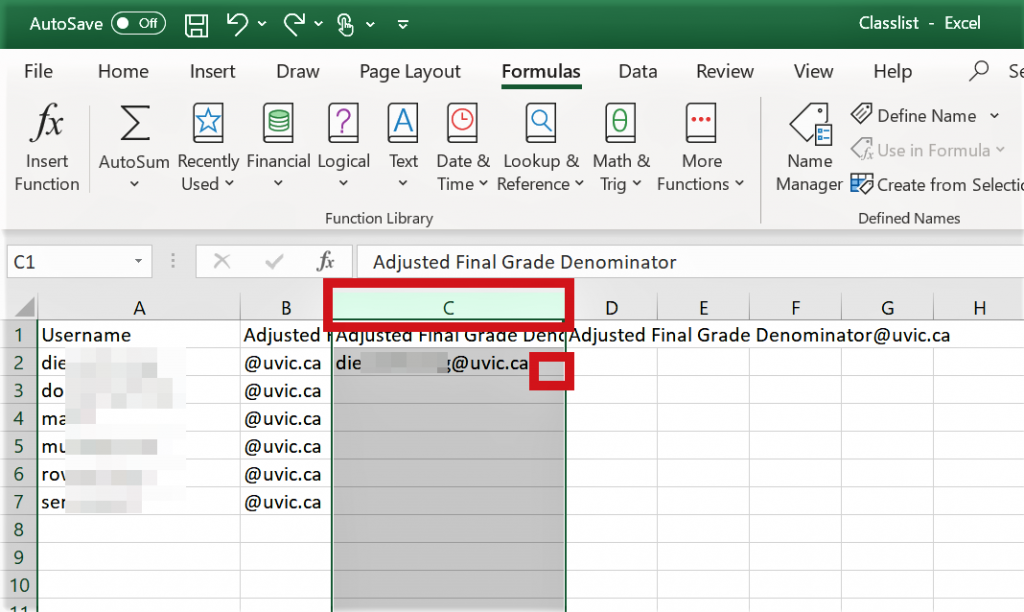
The formula you used to combine cell A2 and B2 will be applied to every other cell, resulting in a classlist of emails. Check over the emails to make sure all of them had the formula applied to them—as you can see below, the bottom student did not properly combine into an email, so you will have to manually do it.

Mac Excel
This is what you’ll see when you open the recently exported Excel file from Grades on BrightSpace: the students’ netlinkID on the left as seen below.
Proceed to delete the unnecessary boxes on the first row and rename appropriately.

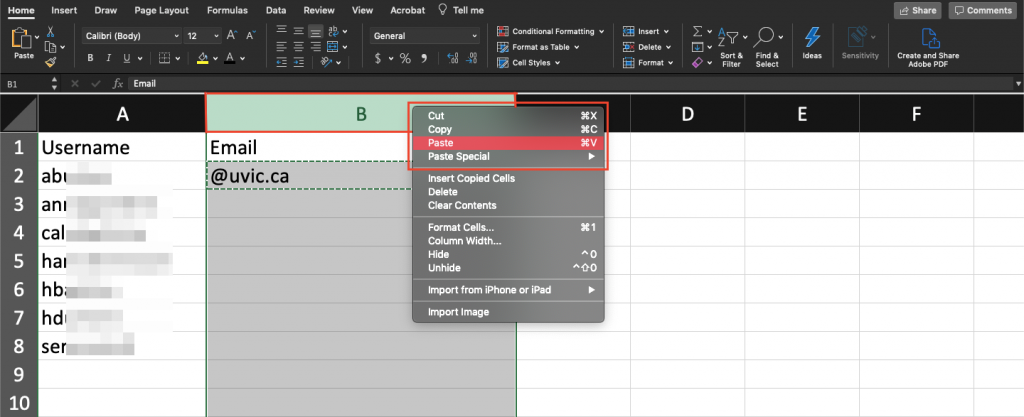
Beside the first student in column B, type ‘@uvic.ca, then enter.

Select the cell, then copy.

Highlight the “B” cells beside the student usernames by double clicking on the cell, then right click, select paste.
This will copy the “@uvic.ca” into the cells beside the usernames.
Now, select the third column (column C) by double clicking the cell C.
This is where you will combine the username and @.

Under Formulas, select Text (a box symbol with an “A” inside) and click CONCAT.

CONCAT is short for the Concatenate function, used to combine cells.Page Break
Type in A1, B1 on the formula bar: fx = CONCAT ( )
This will insert the first row of columns A and B and combine the text there.

The combined username and email domain will now appear in that cell.
Double click in the bottom right–hand corner of the cell you want to copy.

The formula will be applied to every cell, combining the username (NetlinkID) and email domain. Double check that every user has been converted to an email.

Saving as a CSV and Uploading into Zoom
You will have to write which students go into what group and rename the headers (row 1). Once you have done so, select File.
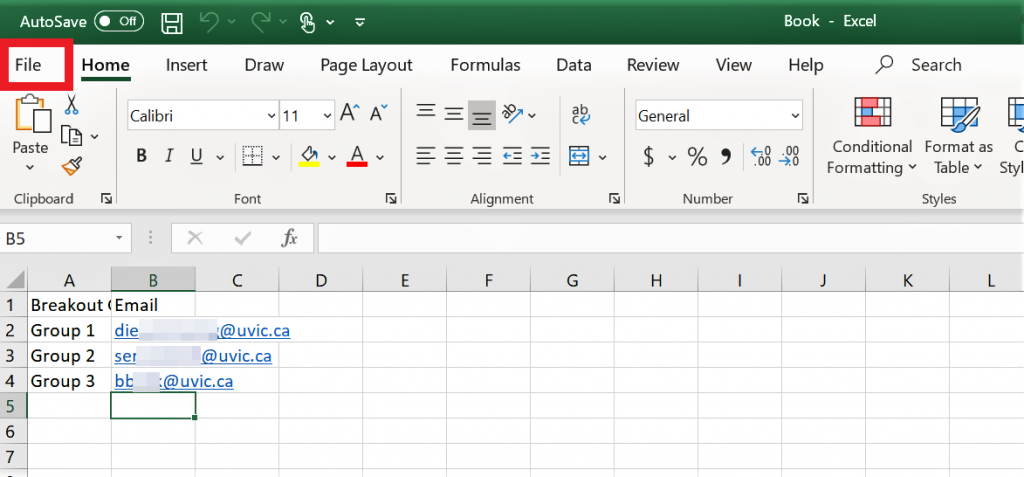
Click Save As, then find and select CSV from the “file type” dropdown menu.


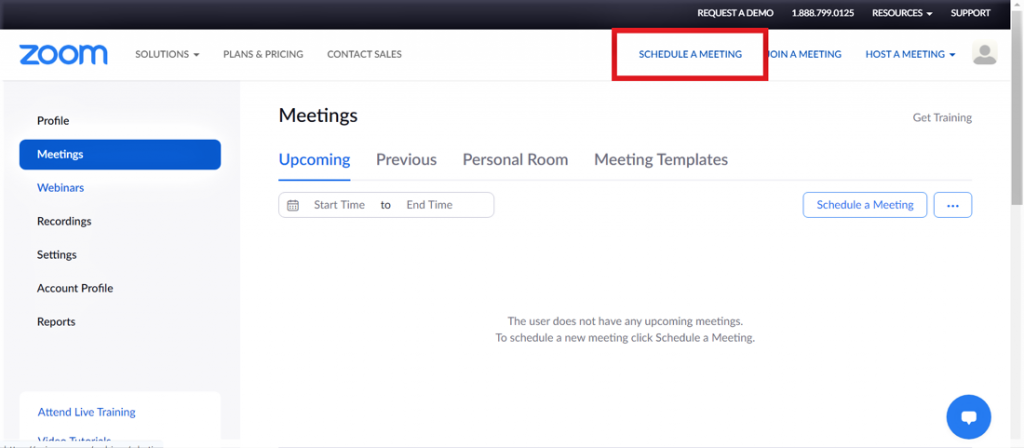
Sign into the Zoom web portal

Click Schedule A Meeting. This can be found on the top navigation bar, or under “Meetings.”
In the Meeting Options section, select Breakout Room pre-assign and click Import from CSV.

Drag and drop the CSV file you’d saved or browse your computer to choose the file.
 The participants will appear in the groups along the left side, along with how many are in each group.
If you need to add anyone, you can search for participants and add them to a group. Once done, click save. Now, each participant will be assigned to a breakout group.

