1. What are Breakout rooms
Zoom’s break-out room tool lets you split your class into a maximum of 50 mini-sessions (e.g. for small group discussion and group work). Instructors can divide the class randomly or in advance, check in on different rooms, broadcast messages to rooms, and end the breakout sessions when it is time to regroup. Instructors can create breakout rooms during a live session with up to 300 participants (manually or automatically/randomly), or instructors can pre-assign participants to breakout rooms when scheduling the session (up to 200 participants can be pre-assigned). If you schedule a recurring (repeated) session, groups are saved/carried over between sessions. This 3 minute video explains how to split a large classroom into smaller rooms.
2. Different types of Breakout rooms
- Pre-assigned Breakout rooms
- Auto-assigned Breakout rooms
- Manual-assigned Breakout rooms
- Self-assigned Breakout rooms
Pre-assigned Breakout rooms:
Instructors’ (host’s) view:
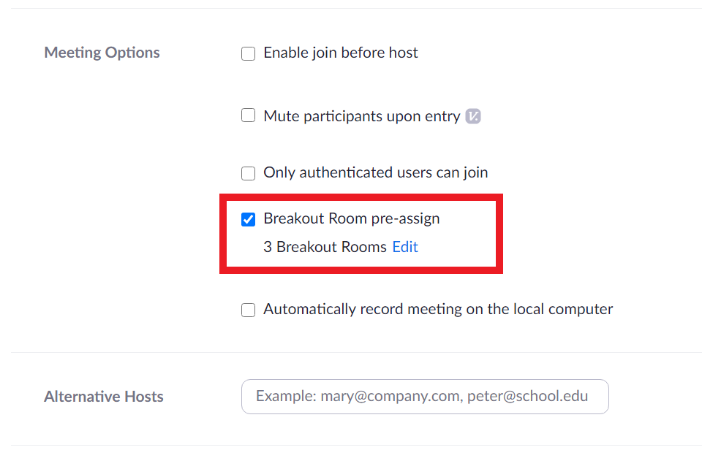
Step 1: You can pre-assign breakout rooms when scheduling the meeting on the Zoom browser (uvic.zoom.us). Selecting edit or add will let you add rooms and participants to those rooms.
Tip: For pre-assigned breakout rooms to function properly, select “Only authenticated users can join” and inform your students that they must be signed into Zoom using their UVic netlink ID and password.
Step 2: On UVic SSO (Single Sign-On allows you to login using your company credentials), all you need is the name of the student to add them to a room. You can also create rooms and leave them empty until you start the meeting. Once done, remember to click Save.

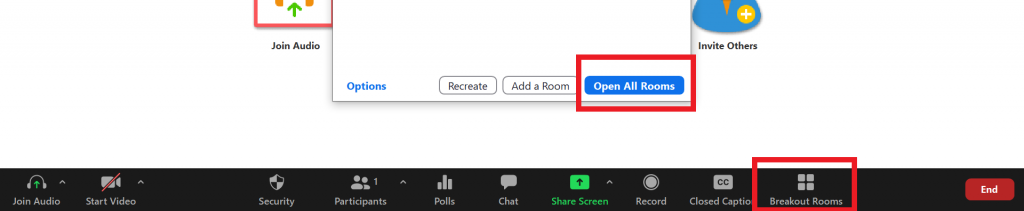
Step 3: You can now open the meeting, selecting Breakout Rooms and the Open all Rooms will prompt students to join their pre-assigned room.
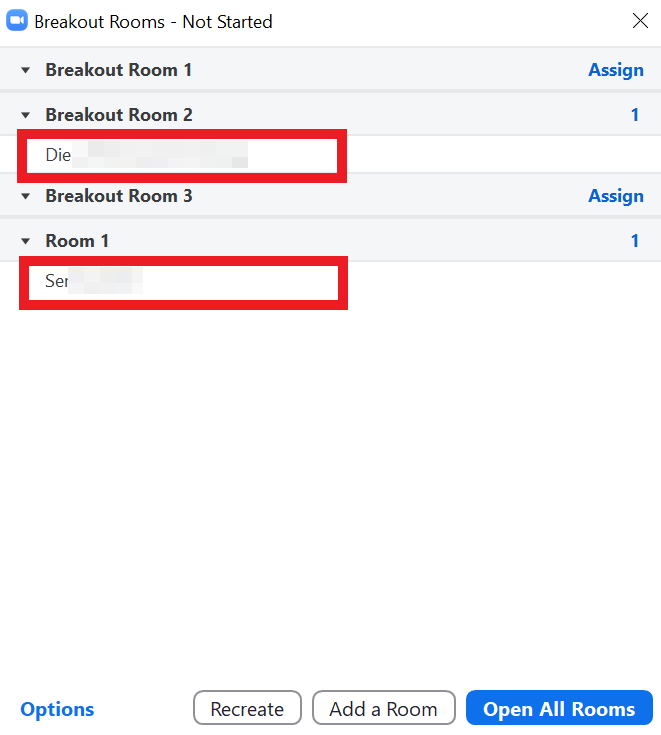
Step 4: You can then see which students are in what room. If you want to add a room, select Add a Room from the Breakout Rooms menu. You can then add students to that room.
Note: Students cannot join rooms they have not been assigned to with these settings. This includes ones made during the session.

Step 5: To change the settings during a meeting, select Options. Here you can allow students to enter any room, come back to the main session at any time, or automatically move them to the room as they enter the meeting. The default will be to Allow participants to return to the main session at any time.

You are also able to “exchange” students in breakout rooms.
If you accidentally put the wrong students into opposite rooms, select Exchange and then the name of the student who needs to be swapped. This will then switch the breakout rooms for those two students.

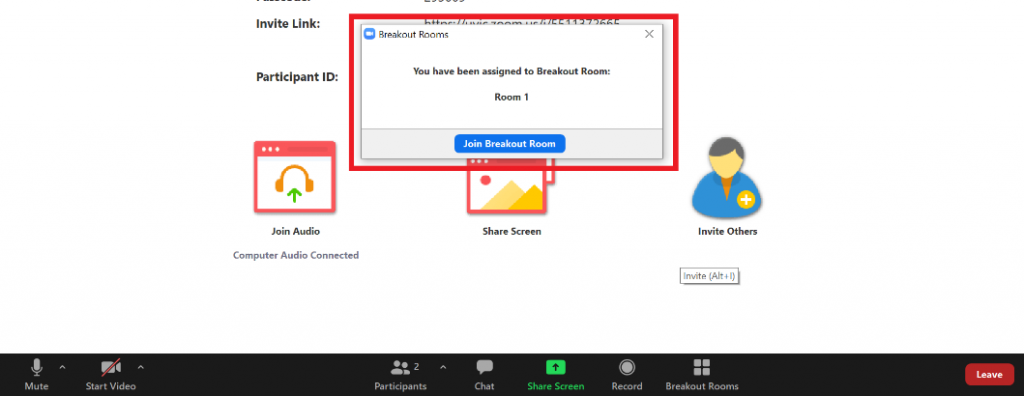
Students’ view:
The image below is what the students will see once the breakout rooms are opened. With pre-assigned rooms, students will only see and be able to join their specifically assigned room. There is no option to join others.

Auto-assigned Breakout rooms:
Step 1. Start an instant or scheduled meeting.
Step 2. Click Breakout rooms at the bottom.
Step 3. Selecting assigned automatically.
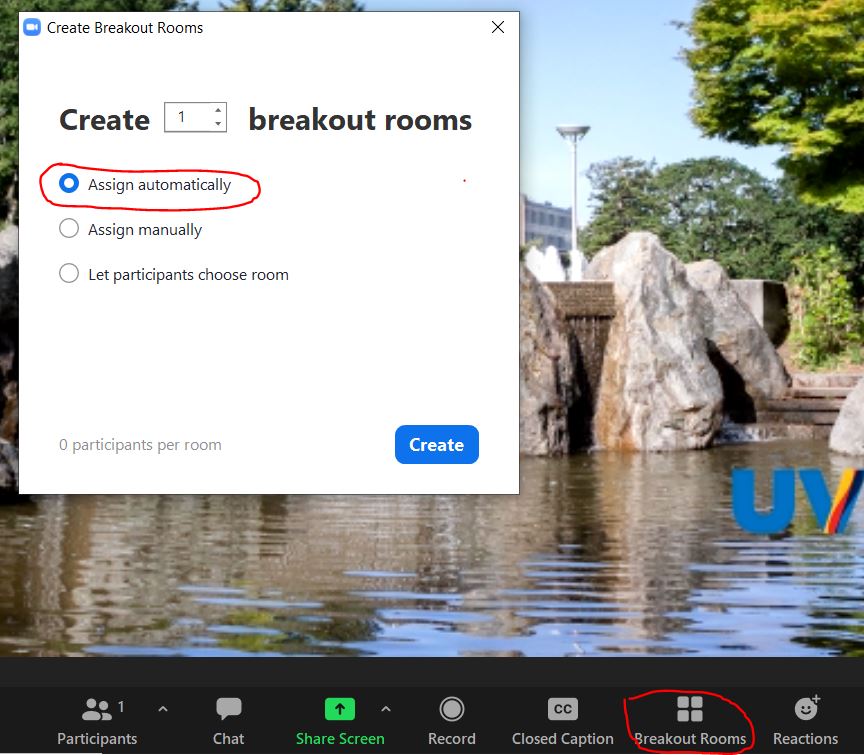
Step 4. Click open all rooms.

Notes: Assign automatically will split participants up evenly to each of the Breakout rooms.
Manual-assigned Breakout rooms:
Step 1. Start an instant or scheduled meeting.
Step 2. Click Breakout rooms at the bottom.
Step 3. Selecting assigned manually.
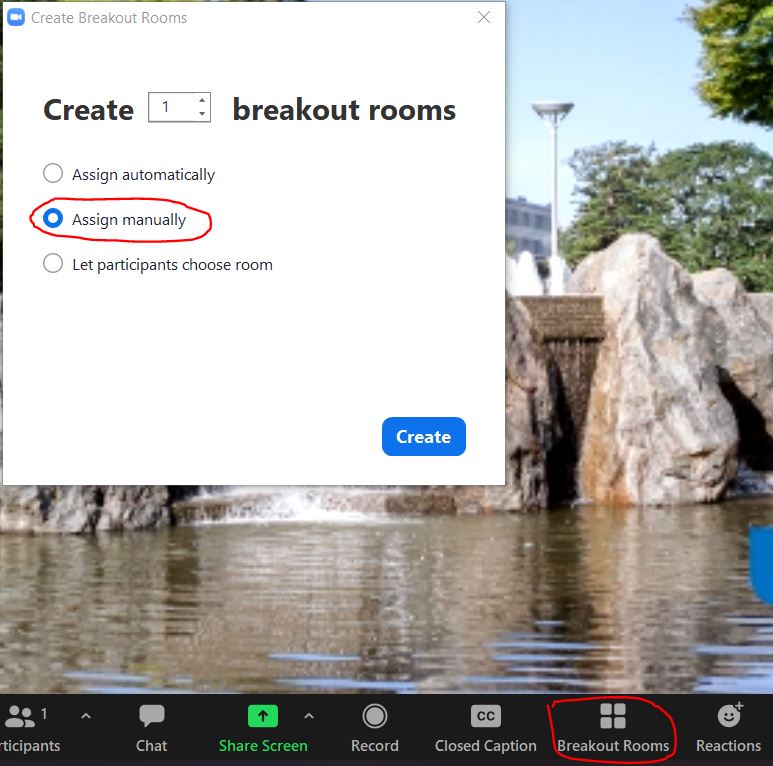
Step 4. Select the assign button to the right of the individual breakout room to assign participants to a breakout room. Then, click open all rooms at bottom of the prompt to start all Breakout rooms.

Self-assigned Breakout rooms:
Instructors’ (hosts’) view:
Open the Breakout Rooms function as usual, the new option to Let participants choose room will allow students to self-assign themselves to existing rooms. Set the number of breakout rooms, then create.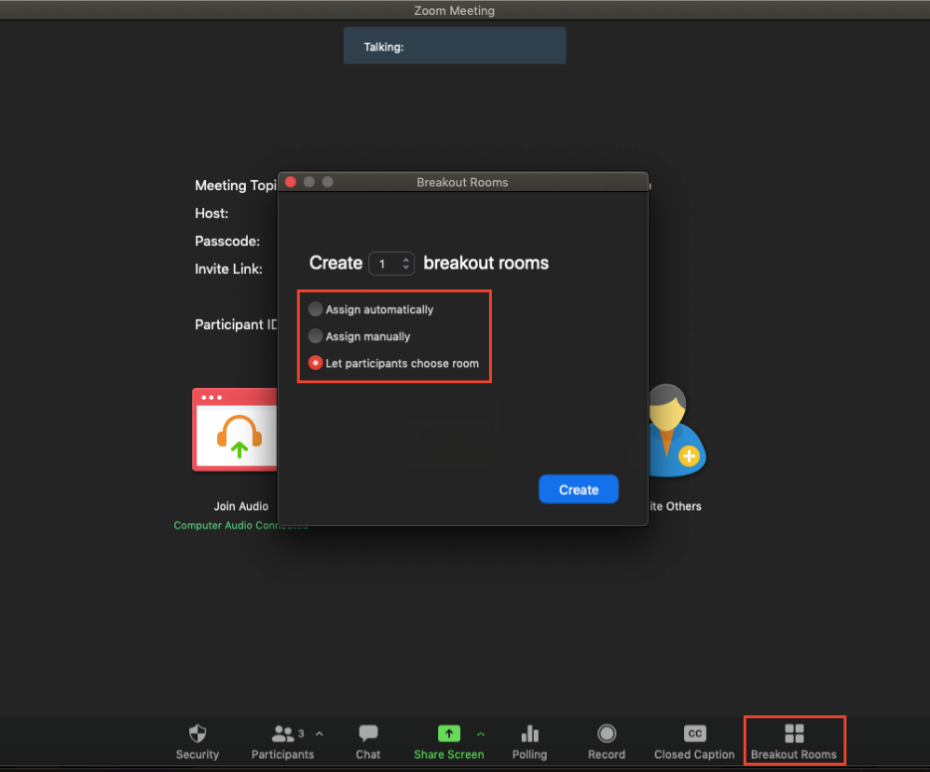
Notes: All participants, originally from Unassigned, will be prompted to join a breakout room of their choice. They will also have the ability to jump to any existing breakout rooms. Participants who have not updated to Zoom 5.3.0 will NOT be able to choose their own room, the host must assign one to them (that can be done during the session, as seen below).
Students’ (participants’) view:
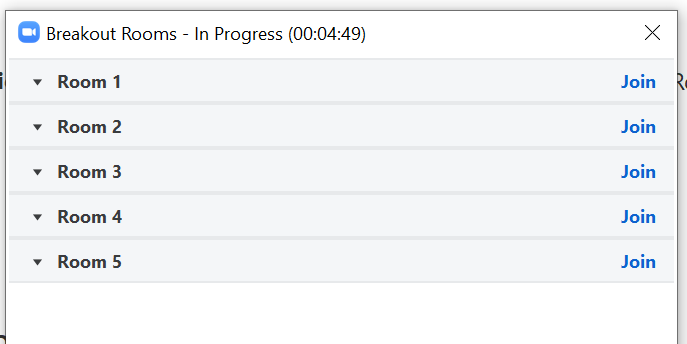
Step 1. When in a meeting, you will see the option to join a breakout room. For participants who have not updated to Zoom 5.3.0, this will not appear. They must be assigned by the host to a breakout room.

Step 2. You can choose any room, since you are not assigned to one specifically.
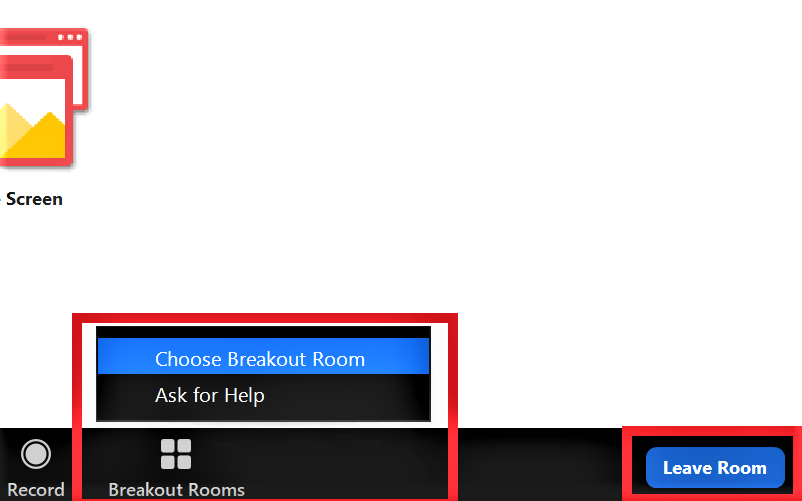
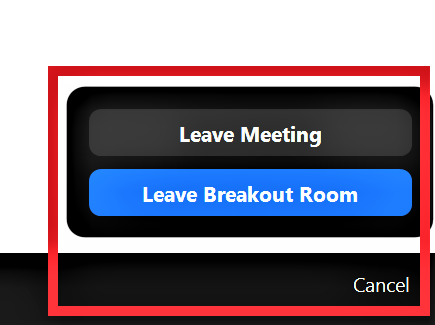
In a room, you can choose a different Breakout Room to join, or Leave Room and go back to the main session area. The instructor can send you to a specific room, but you will be able to leave and/or select a different room to join.
If the instructor assigns you to a specific Breakout Room, a notification will appear. Select Join Breakout Room to join. You will still have the option to join different breakout rooms.