The Calendar tool can be used by instructors to schedule course events and activities. When associating a due date to an activity, for example, the course calendar will be populated with that date, which will help remind students of upcoming tasks. The following instructions show how to navigate to and manage the Brightspace Calendar.
1. Log into Brightspace by using your UVic account.
2. Select a Course.
3. Open the ‘Course Tools’ tab in the navigation bar and select ‘Course Admin’.

Under Course Tools in the navbar, select Course Admin.
4. Select ‘Calendar’ under ‘Site Resources’.

Under Site Resources, go to Calendar.
5. You can change the Calendar view according to your needs by changing the Calendar selector.

Select All Calendars to change the filter to look at a specific course calendar.
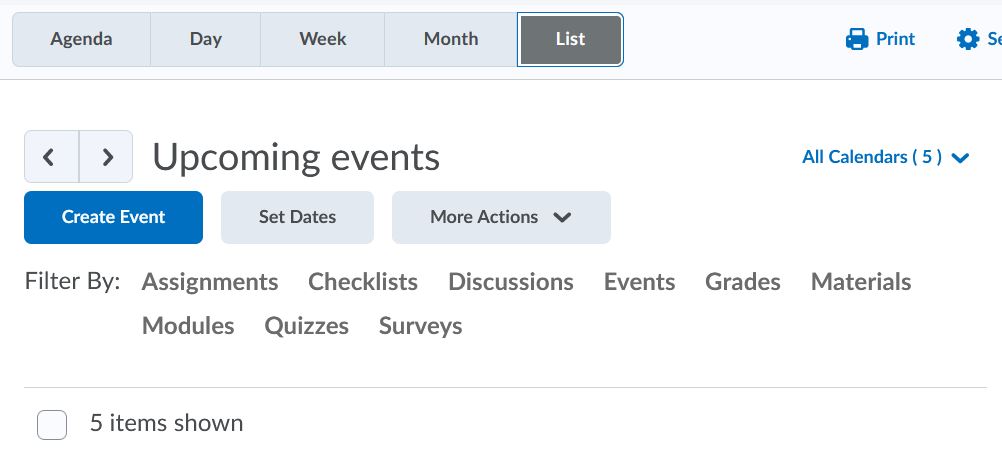
6. Click ‘List’ to view all events. You can filter the list by selecting different types of events.

Under the List tab, you can filter the calendar by type of events, such as assignments, checklists, discussions etc.
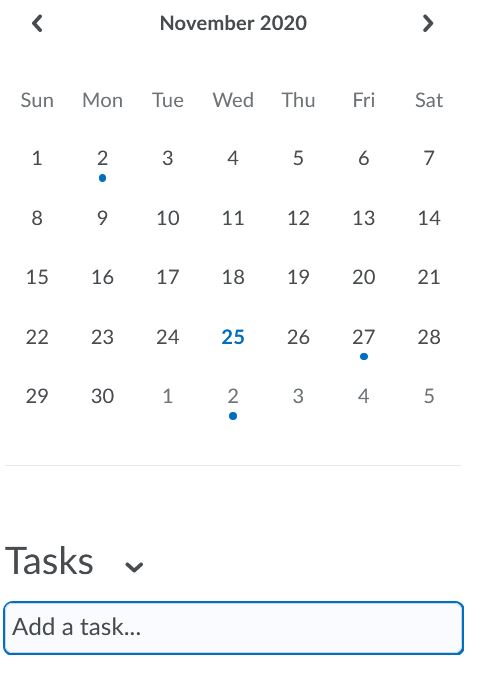
7. You can navigate the Calendar by selecting a specific date in the mini-calendar on the side. You can also create and edit personal tasks under the mini-calendar.

Dates with a blue dot shows that there is an event on that day. Under Tasks, you can add a new task.
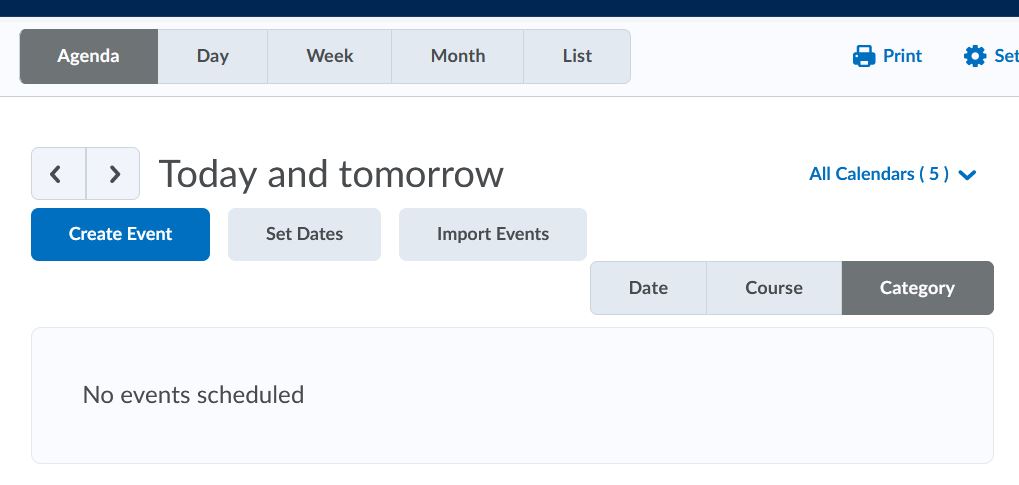
8. You can create events in the Calendar by clicking ‘Create Events’. The ‘Set dates’ button allows you to set a date restriction on existing course contents and activities.

Under the Agenda tab, you can create events in the Calendar by clicking ‘Create Events’. The ‘Set dates’ button allows you to set a date restriction on existing course contents and activities.

